Sunday, March 10, 2013

DIY Easter Candle Sticks


Hello aren't these just adorable!? I found these on Pinterest and thought I'd share them. I found the tutorial on the csiproject.com blog from JC's Loft blog. I will be going to Hobby Lobby for supplies and making these and I hope this inspires you enough to do the same. I hope you are enjoying your weekend, here in Northern California it's beautiful! 


You can usually find me blogging about fabulous ways to decorate on a budget.  I LOVE finding a way to decorate for the Holidays on next to nothing.  Easter is no exception.  So when I finished these amazingly cheap but chic Egg Candlesticks I knew I had to share my tutorial with you CSI readers…enjoy!
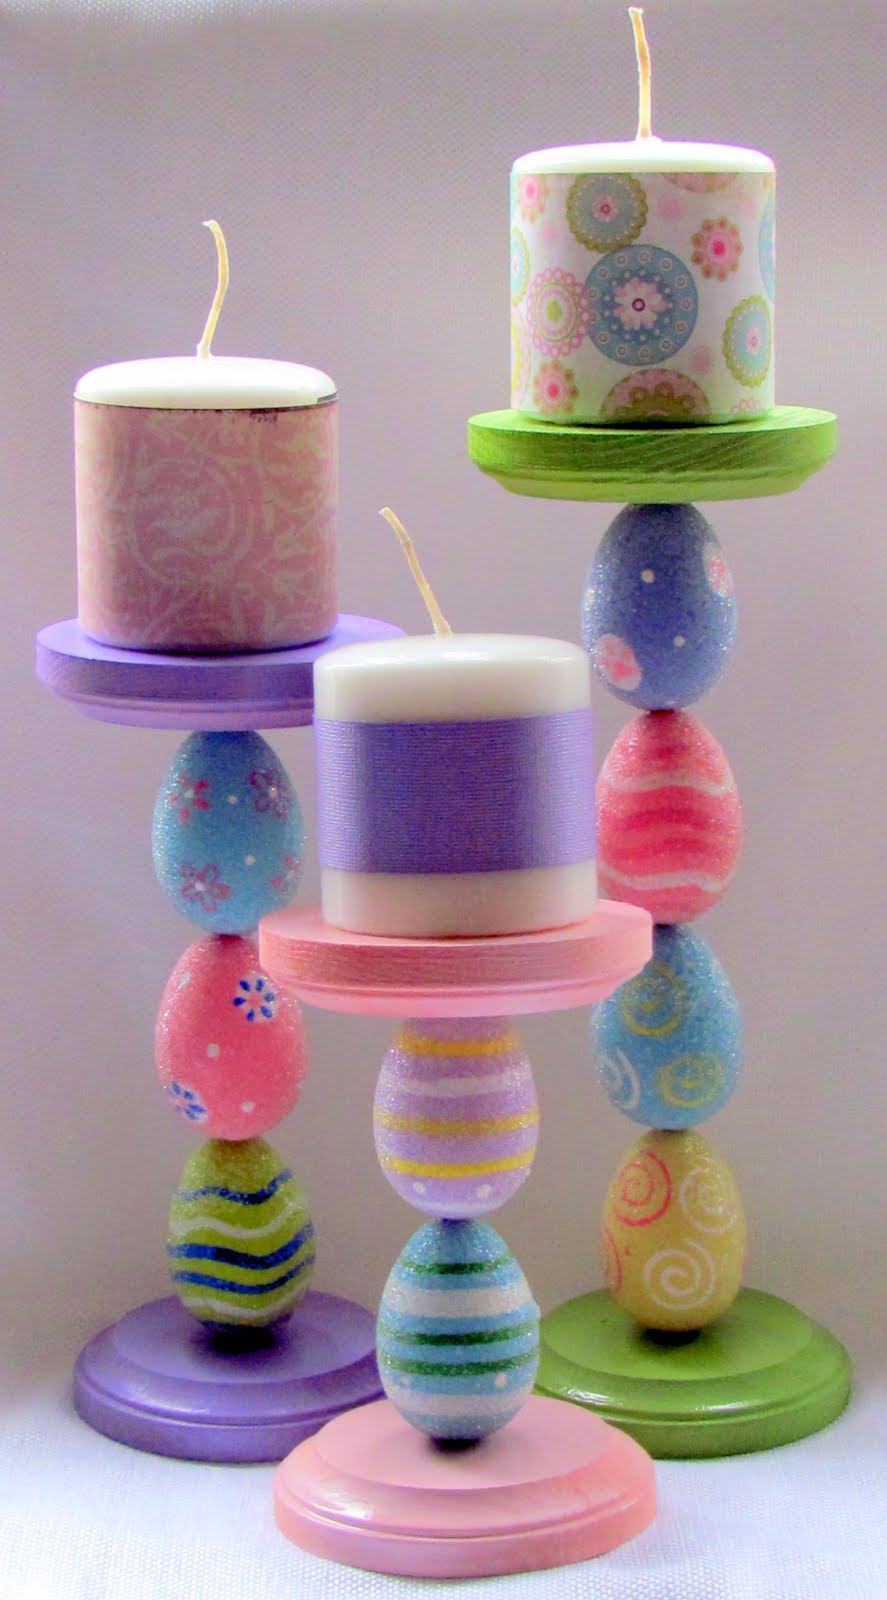
If you want to learn how to make these cuties then keep reading!
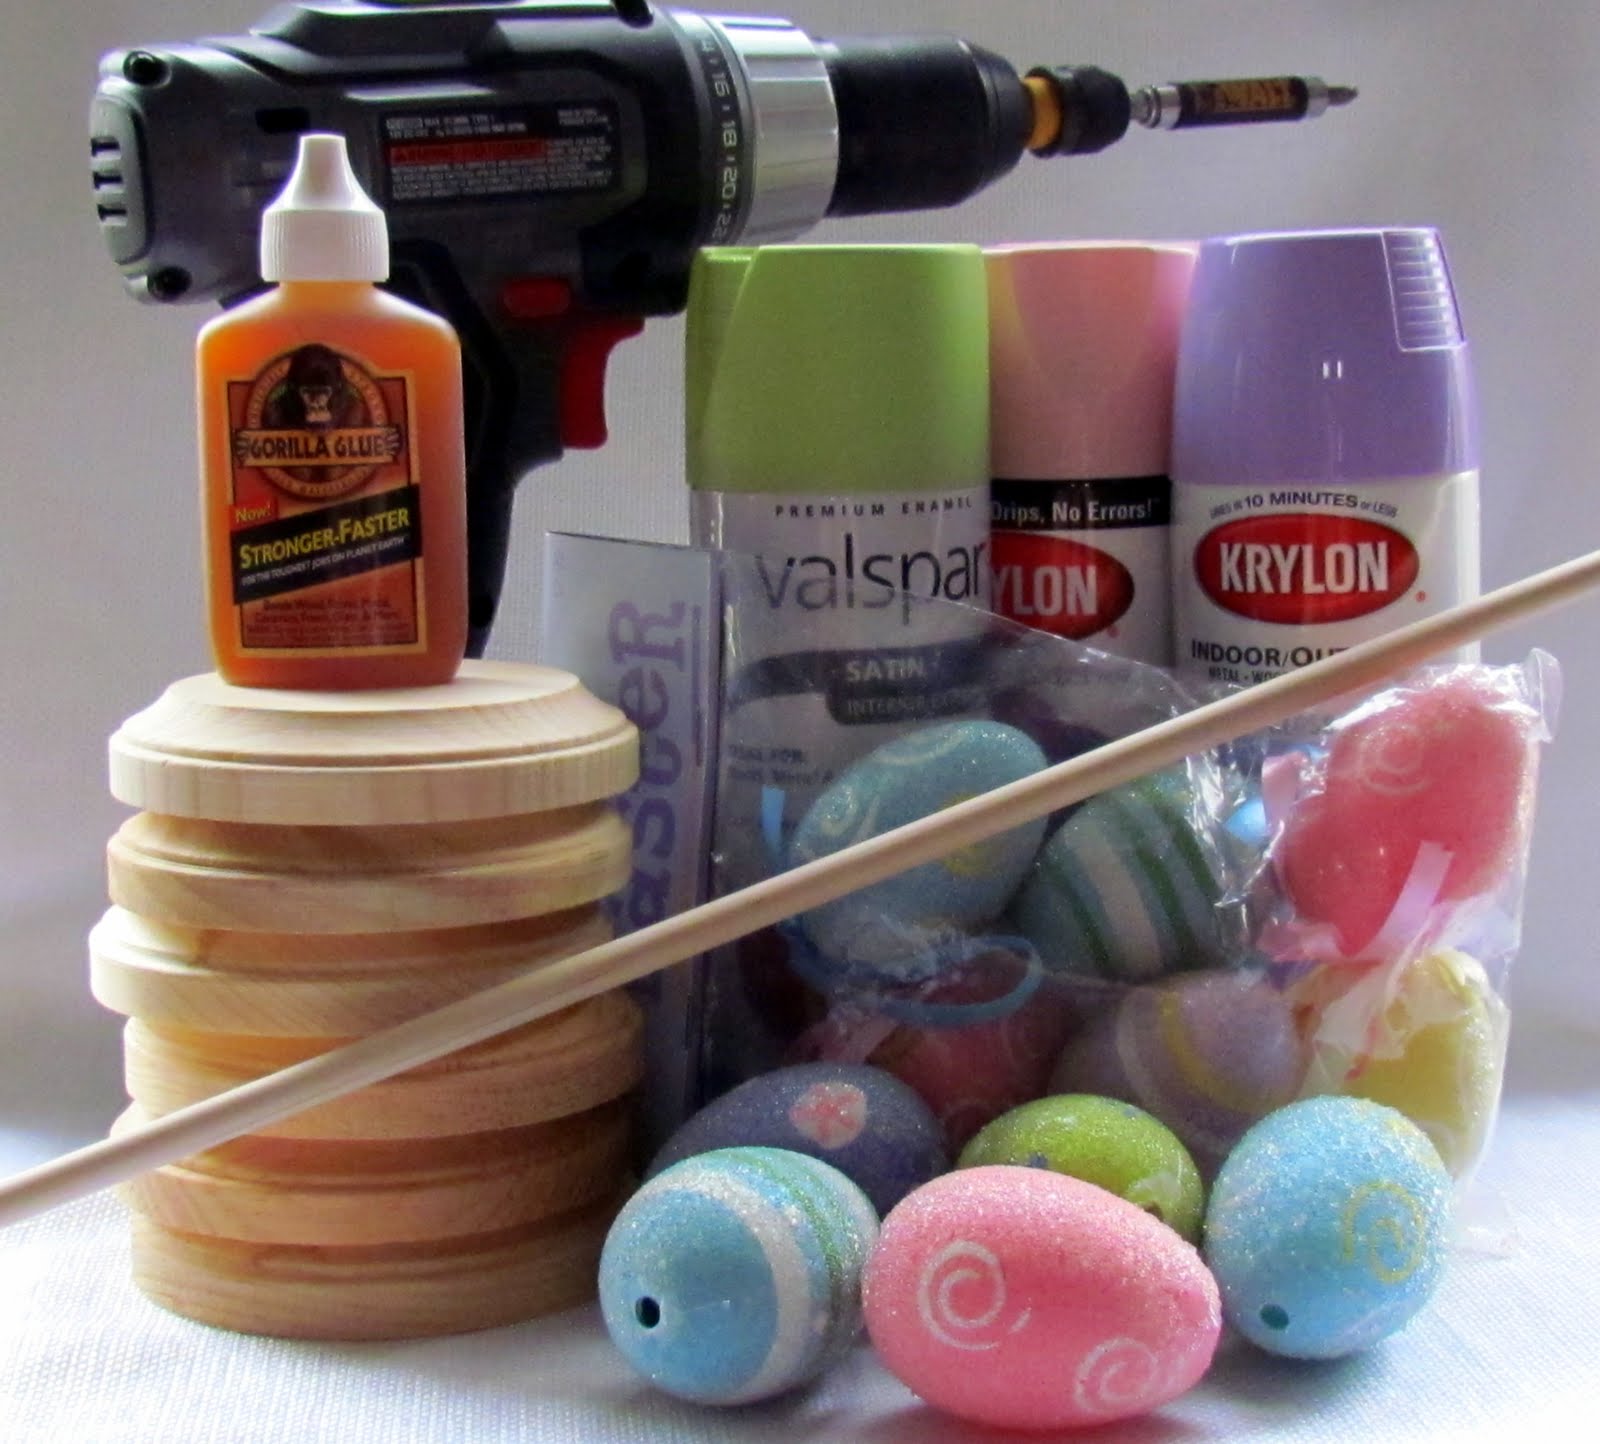
Supplies:
- Plastic Eggsplastic eggs (I purchased mine from Hobby Lobby)
- 2 Small round pieces of wood per candlestick.  One will be used as the base and the other as the top to your candlestick (I used the smallest circular wood you can buy from Hobby Lobby).
- 3/16th Dowel Rod (I would suggest using a bigger dowel rod for more support…didn’t realize that until I was finished!)
- Glue
- Drill
- 3/16th and 7/32nd Drill bits
- Spray Paint
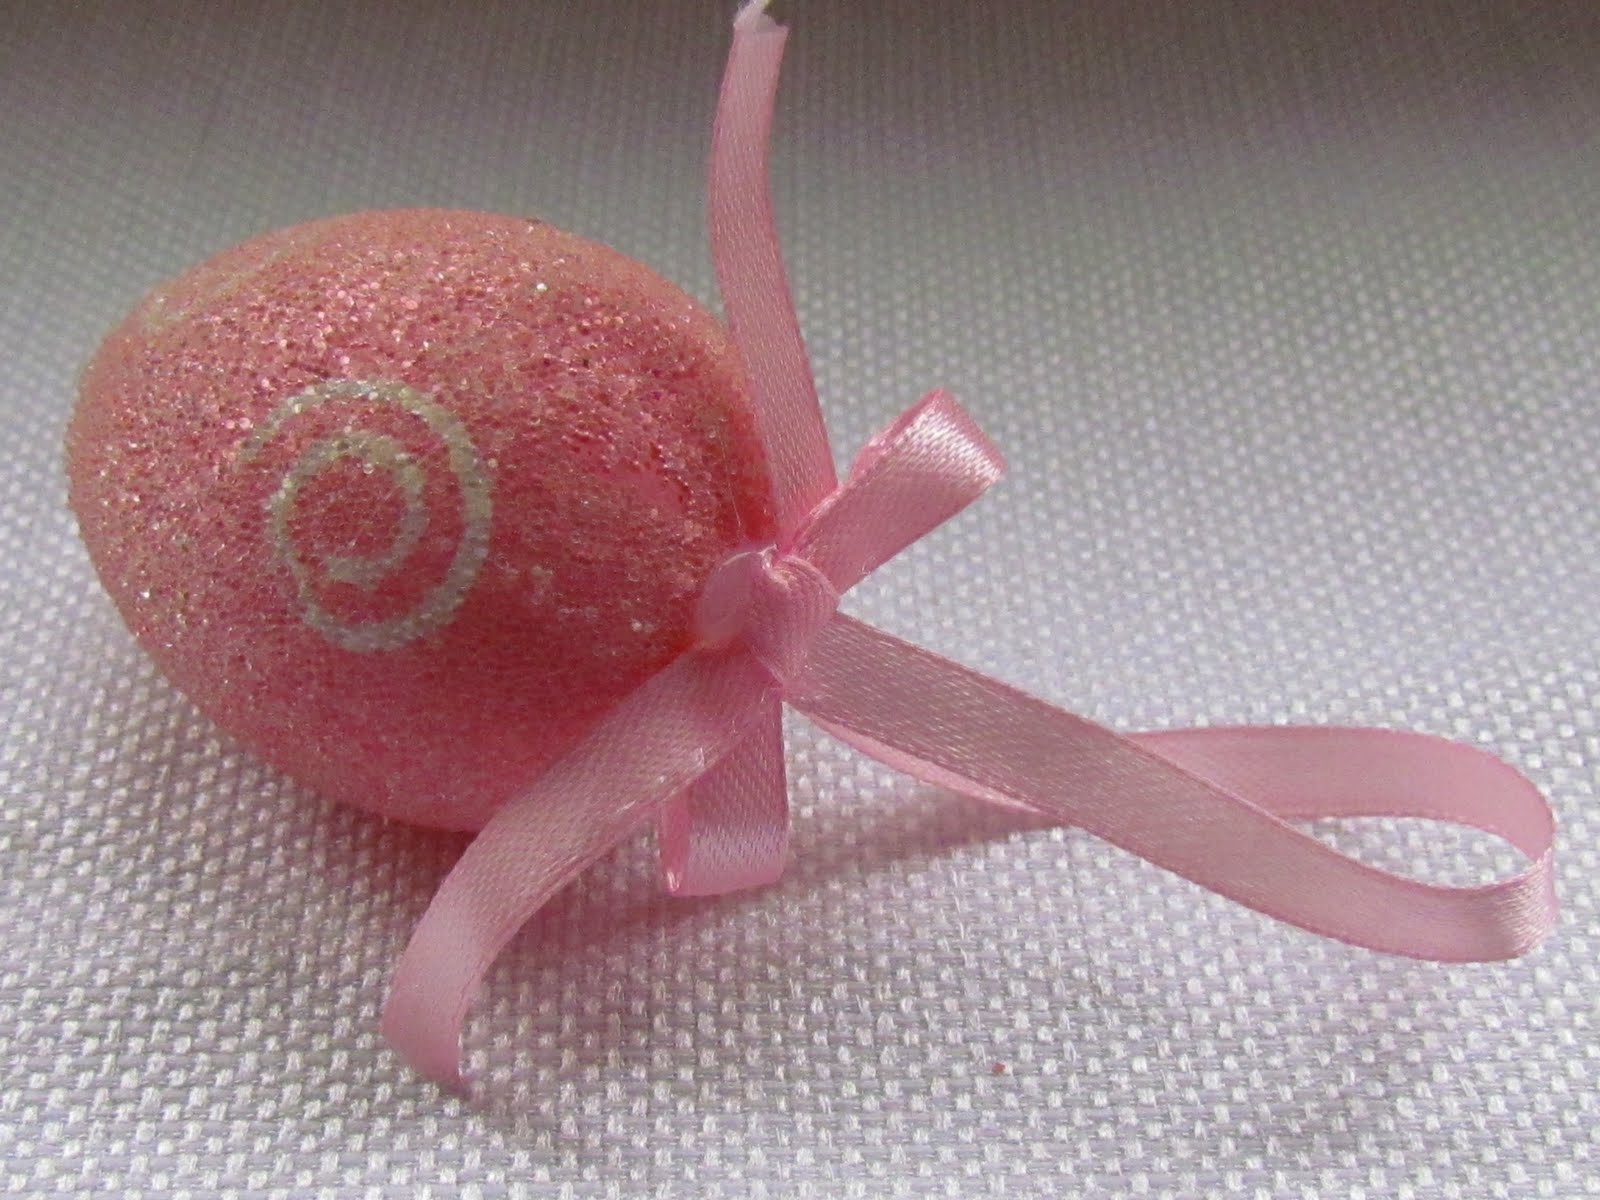
Step 1.  I purchased egg ornaments so my first step was to remove the bow and loop of ribbon.
Step 2.  Use a 7/32nd drill bit to drill a hole in the center of the top and bottom of the egg.  How many eggs you need to drill depends on how high you want your candlesticks to be.
‘
Step 3.  Use a 3/16th drill bit and drill a 1/2 inch deep hole into the top of your wood piece/bases.  You will need two of these per candlestick.
Step 4.  Insert dowel rod into the hole you drilled in the base.  Next slide eggs onto dowel rod to desired height.  Leave a 1/2 inch dowel rod sticking out of the top egg and cut off the rest.
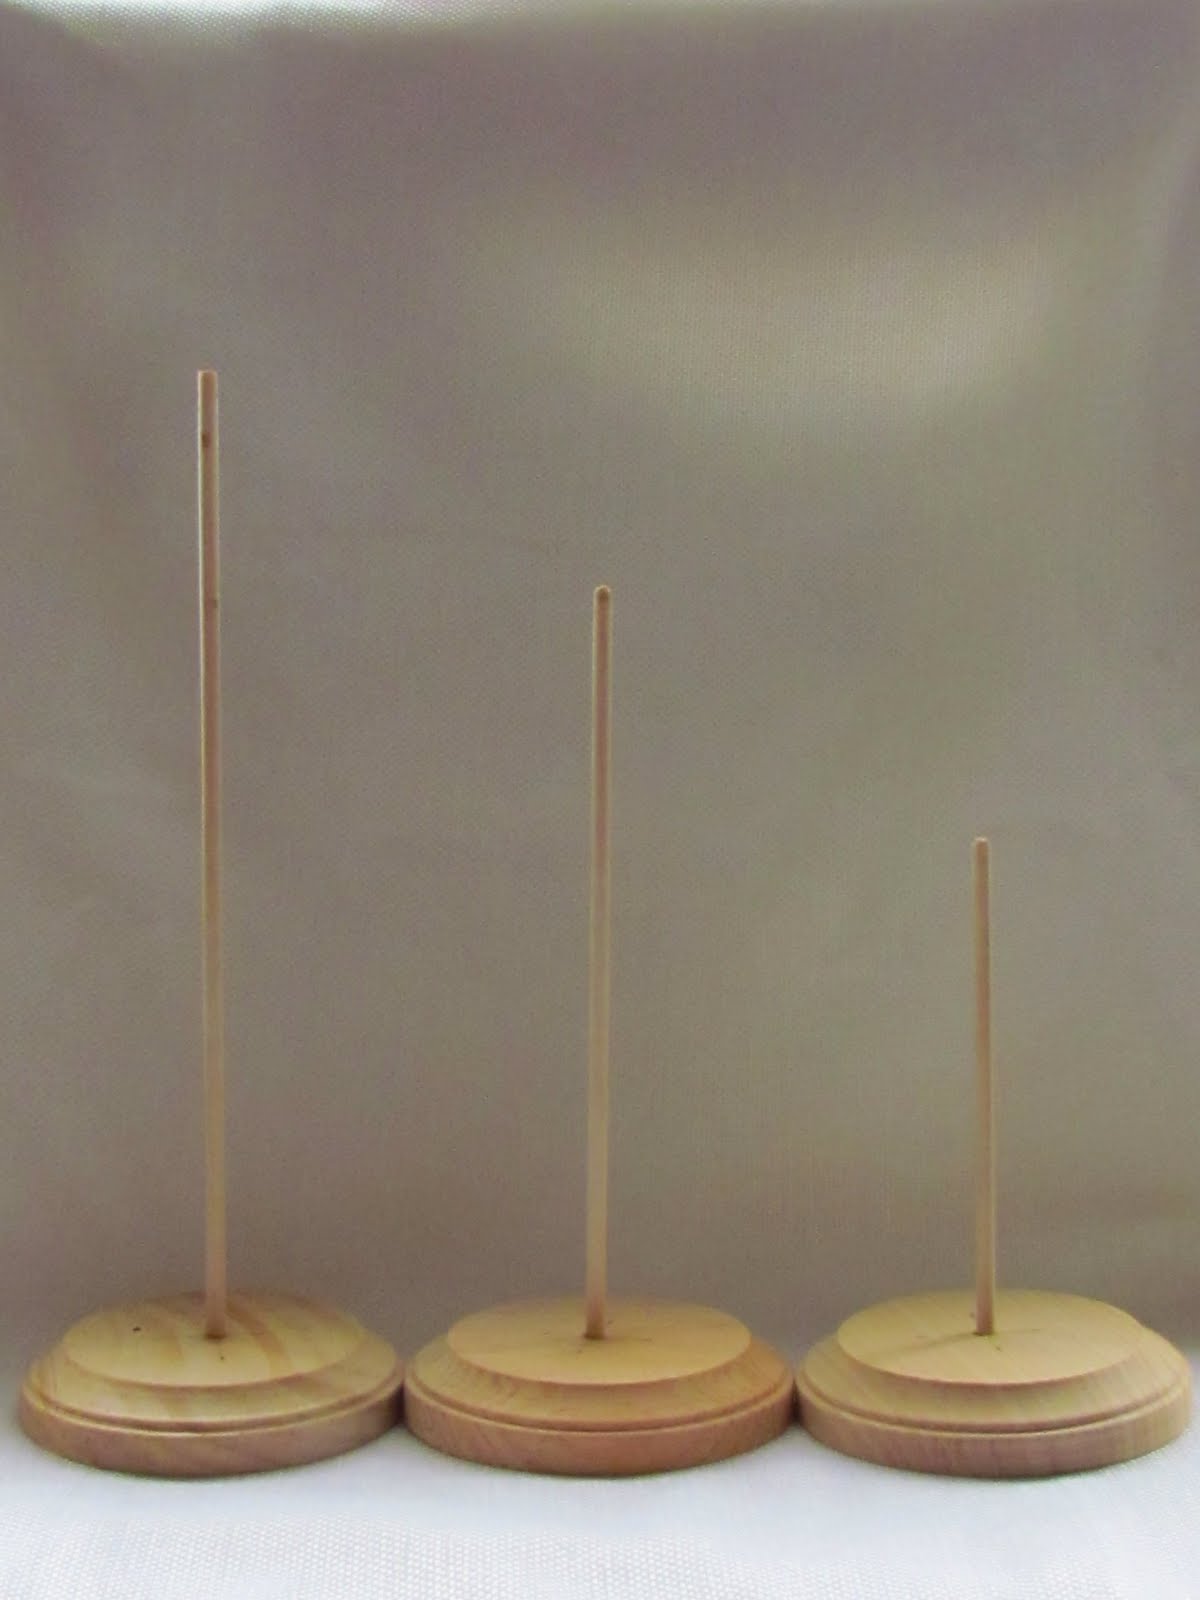
Repeat steps 3 & 4 as many times as needed to make the bases for your candlesticks.  I choose to make 3 different heights as shown above.
Step 5.  Glue the cut off dowel rods into your bases.
Step 6.  Paint your bases and tops (not shown), let dry.
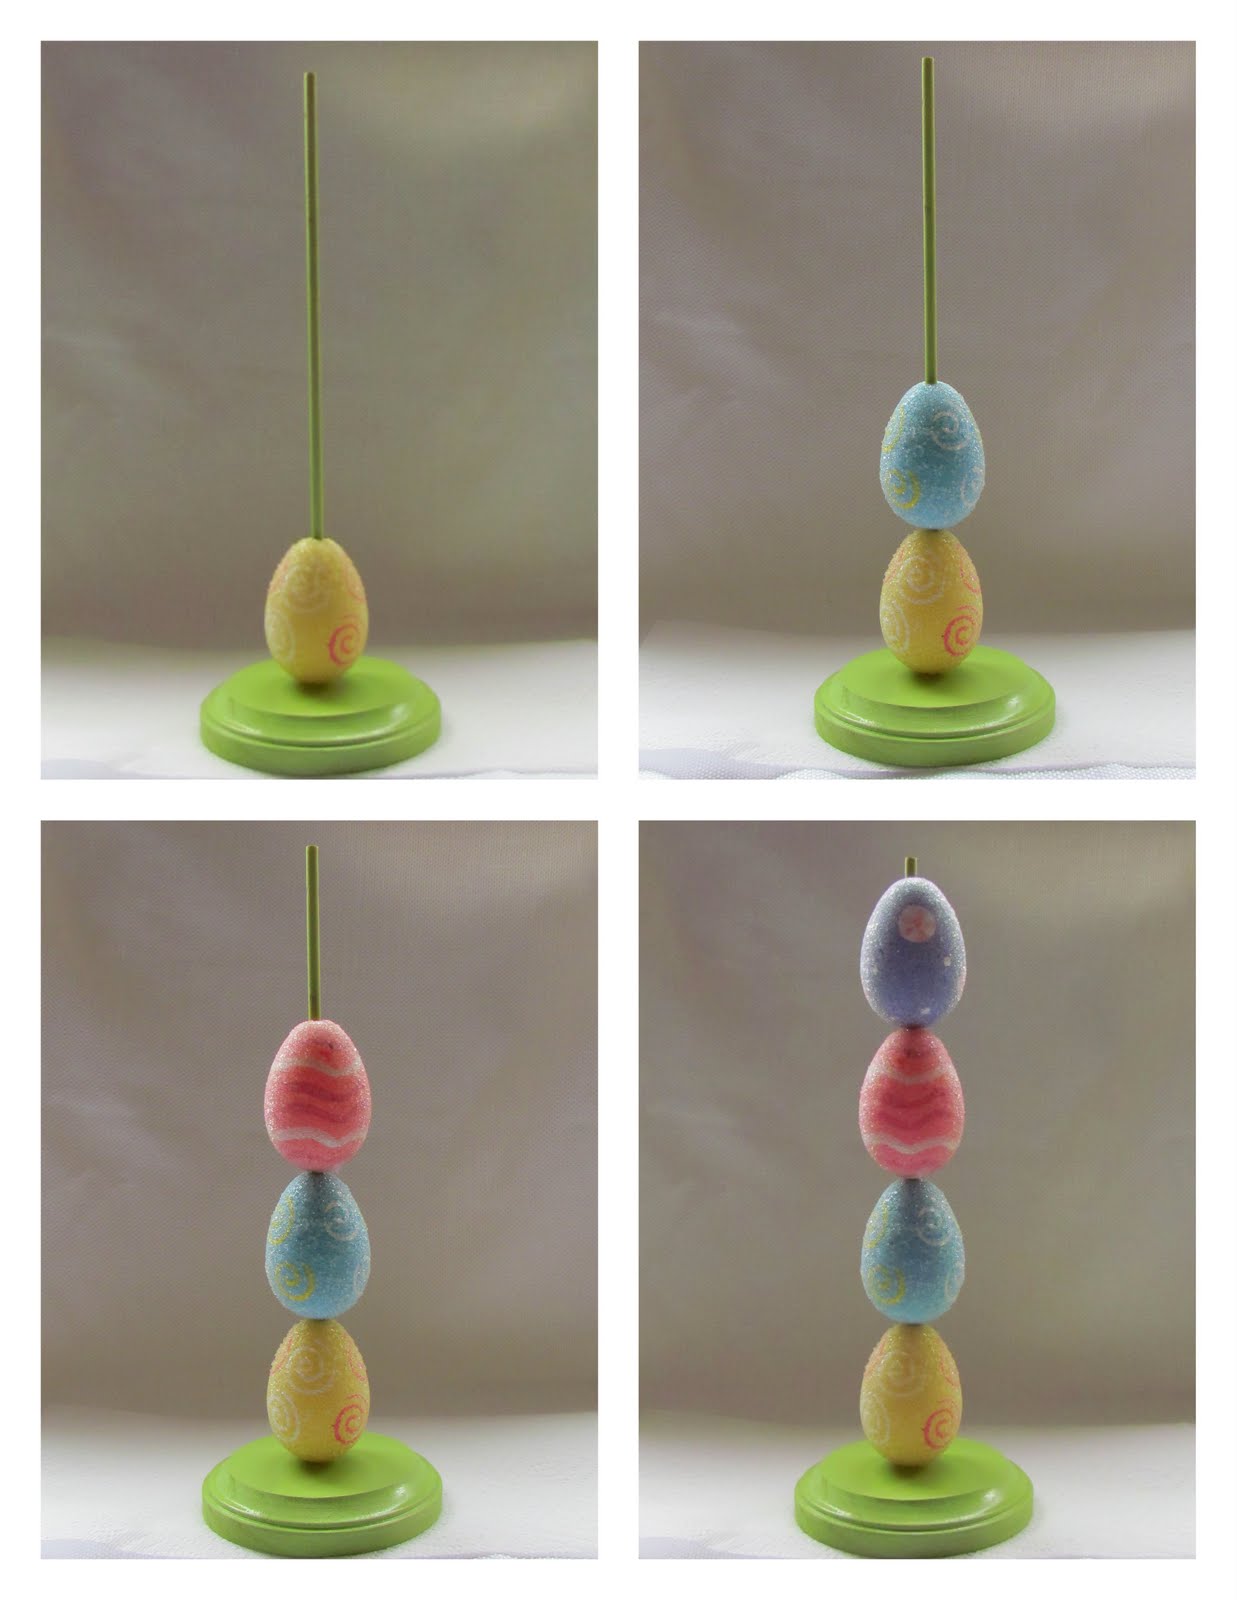
Step 7.  Slide your eggs onto the base.
Step 8.  Glue the top of your dowel rod into another circular piece of wood that you have drilled a hole into.
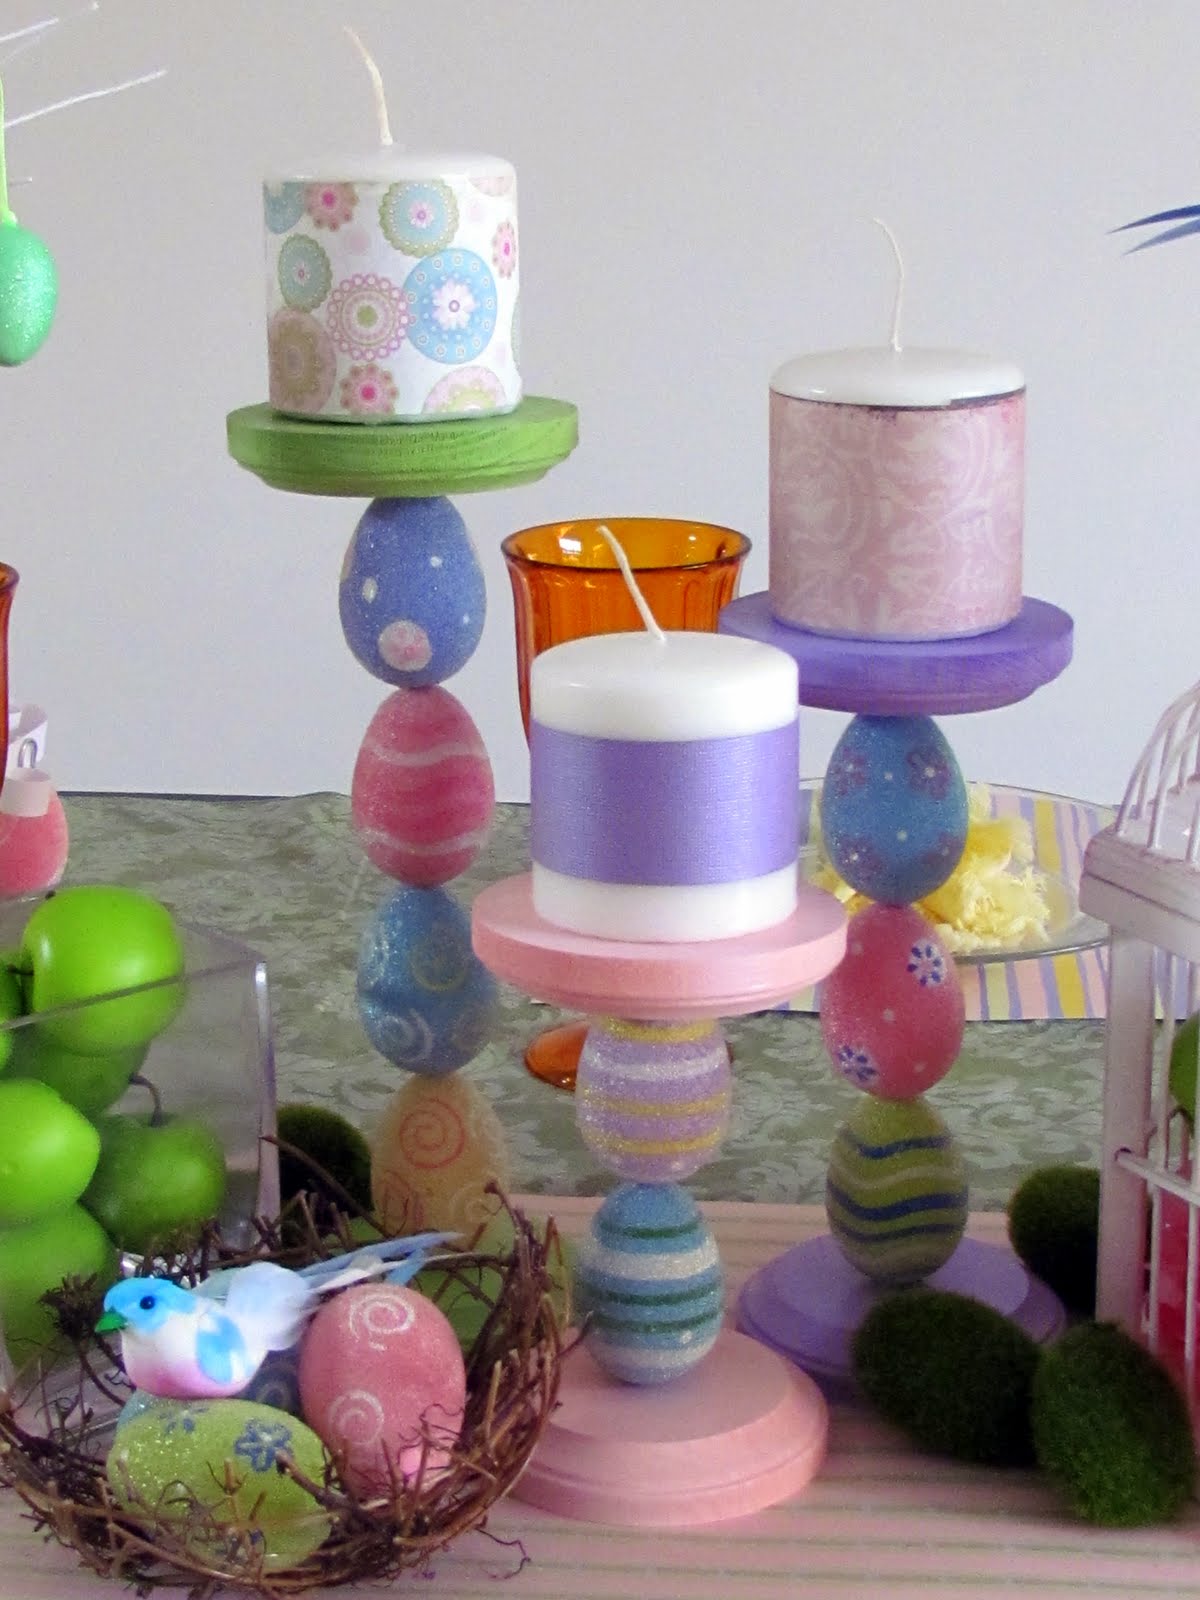
Bunch together on your Easter Tablescape with some pretty candles…
and stand back to admire your work!  If you love my Starburst Egg Mirror in the background or my Egg Place Card Holders on the table come visit JC’s Loft to see how I made them.
Thank you to the CSI Gals for having me over today!  I hope you enjoyed my tutorial.  Have a fabulous rest of your day…XOXO  Paula

Friday, March 8, 2013

How To Get Your Gross Plastic Containers Clean


Let's face it...we've all been there. Taco sauce, tomato soup/sauce, raviolis, they wreck havoc on our plastic containers! Here is an easy how-to-clean your containers out.


1. Fill almost to the top with water and a squirt of dish soap
2. Add 1/4 cup of bleach
3. Microwave the container for 40 seconds, or until the solution boils
4. Allow to rest until the water is luke-warm
5. Wash out your container and it is as good as new

PS: Any qualms about using bleach on plastic food containers? Then don't do this. Simple as that.

Dr Oz 3-Day Detox Cleanse

Yesterday I watched Dr Oz and thought this was a great plan to detox, so I'm going to try it. Reviews later! Dr Oz does suggest that before you start the Detox you eat a healthy meal (fish, chicken, greens, black rice or sweet potatoes) so your body doesn't start out "junked out" (junk food). 


Sunday, September 2, 2012

Homemade Fabric Softner


Prep Time: 5 mins.
Total Time: 5mins
Yield: 1 Gallon

"If you check the dangers of fabric softener you will appreciate this simple recipe that is much safer." 

Ingredients

6 - cups water
3 - cups white vinegar
2 - cups hair conditioner

Directions

1. Mix water, vinegar, and hair conditioner in a 1 gallon container; stir. Do not shake it; it will cause foaming.
2. Use the same amount you normally use in a rinse cycle or spritz it on a wash cloth and throw it in the dryer.

"You can put the fabric softener in a little Mason Jar and tie a cute little bow around the top and give away for a gift." 


Saturday, August 4, 2012

Tooth Fairy...

I hope all of you are enjoying your Saturday. I came upon this cute lil tooth fairy bag with a receipt from the tooth fairy...how cute is this?

www.scrappinwithmybug.com 

Friday, August 3, 2012


Please Follow me on Pinterest @ http://pinterest.com/trickpoini/

Organizing Kids School Papers...


UPDATE: I just found this on pinterest.com am loving this too! 


I thought this was a really a neat way to organize all those papers that your kiddos bring home from school and are so proud of...this is accessible and  a great way to organize and so easy to go back and find what you're looking for and you don't have to feel guilty for getting overwhelmed with paper messes and they end up in the trash because it becomes so overwhelming. So their papers could be on display for a few days then into the folders. ;)  


Here is more pictures of how cute she decorated each child's file case.
http://beingbrook.com/organizing-kids-school-papers/